To use license server validation you require an ASP.Net server/account.
Step 1 - Creating server files
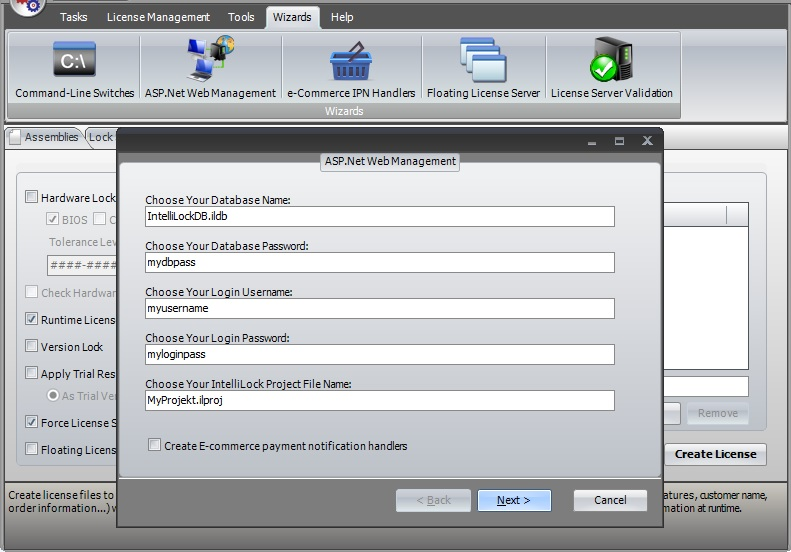
Open your IntelliLock project file (the one you use to protect your application) and click the menu item Wizards > ASP.Net Web Management to create the required server files.
Please copy the created files into the root directory of your ASP.Net server/account.
Step 2 - Manage customers
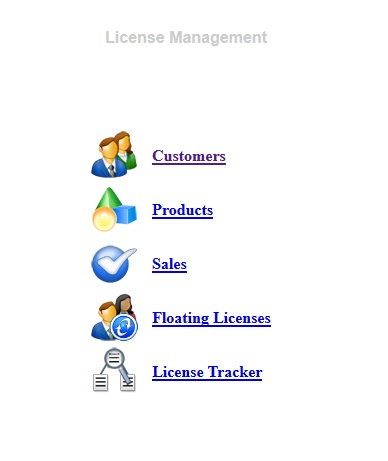
If you visit the website you will see the following:
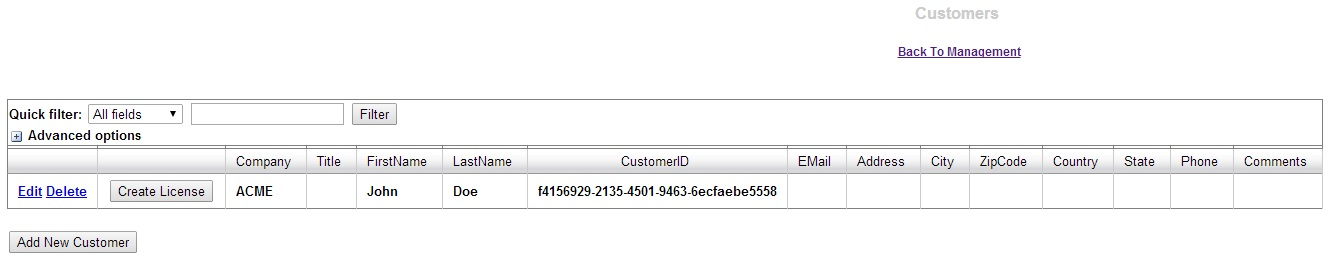
Click the Customers link to view the customer table.
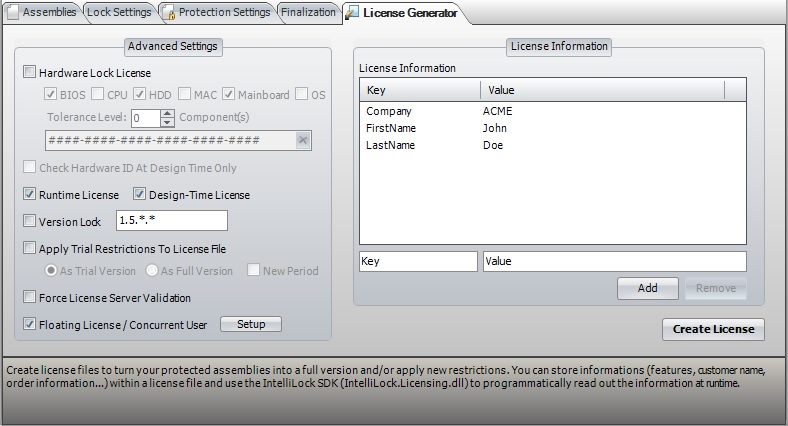
Here you can add, edit or delete customers. The relevant settings are:
Company - The customer company name
FirstName - The customer first name
LastName - The customer last name
Comments - If you enter "disabled" the license validation for the corresponding customer will always fail.
All other settings are only informational. You can adapt the validation behaviour by editing ValidationService.asmx (contains C# code).
Step 3 - Enforce license file validation
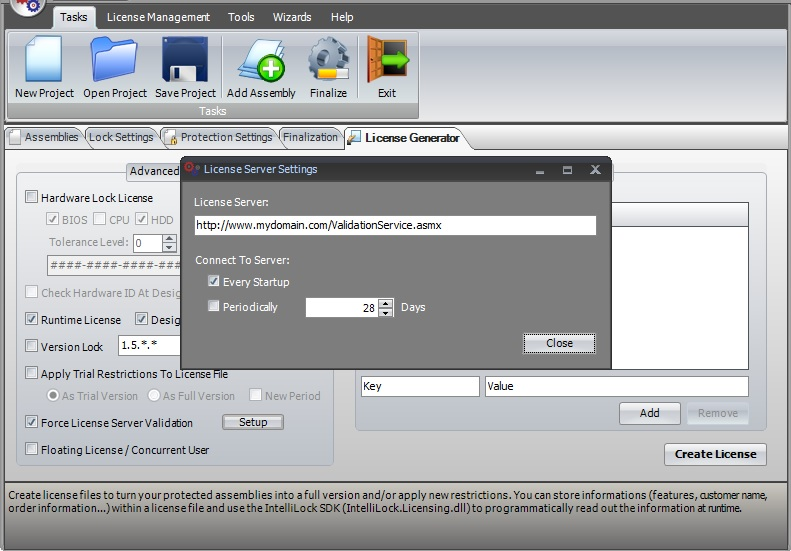
Open the IntelliLock project file for your application. At least one trial restriction must be enabled (tab "Lock Settings"). In tab "License Generator" check Force License Server Validation and click the Setup button. Check Global and enter the URL to ValidationService.asmx.
The license file must contain the keys Company, FirstName and LastName. The values must correspond the Customer settings of the Customer table entry. If the values don't match, the service can't find the customer and the validation fails.
Protect your application, create the license file and copy it to the location of your protected application. Now, if you run the protected application, it automatically connects to the validation service.
Further note
- It is important to use the same project file (as it contains the master key) to protect your application and generate the server files via Wizards > ASP.Net Web Management.