

#
Lock An Assembly
Protect an assembly and configure the inbuilt locks that control its use.
#
1. Open your project
Open a new or saved .NET Reactor project.
#
2. Select the assemblies
On the Files page, select your assemblies and configure basic protection. Select Library or Application to match the main assembly you want to protect and lock.

#
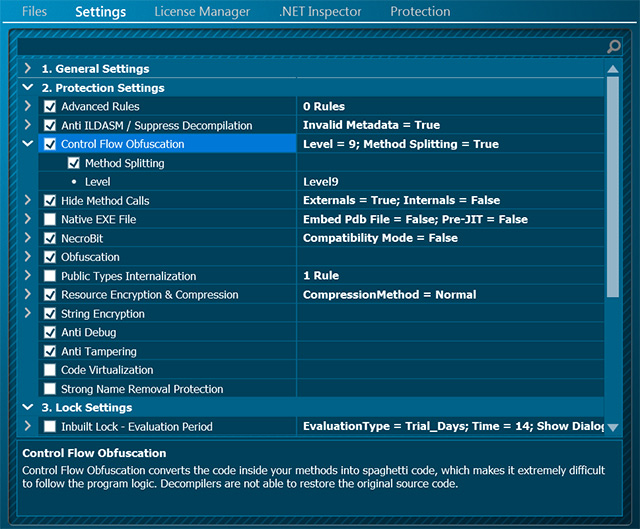
3. Configure protection
On the Settings page, configure the protection options for your assembly.
#
4. Configure the locks
Configure Lock Settings for the assembly. See How Locks Work for an introduction to software and license locks.

#
5. Protect the assembly
Click Protect on the Tasks Panel.

#
6. Prepare and test the output
The protected output is saved to the indicated subdirectory. You can test it there or copy it to a separate test directory.
Include the dependent files
Copy or move all required dependent files to the destination directory so that your assembly can run there.

#
7. Save your project
Save the project after configuring and protecting your assembly.
Preserve the master key
The project contains the master key used to protect your assembly. Keep it so that you can create matching license files later. See Master Key.
#
Next steps
Continue with Unlock A Locked Assembly to create and deploy a license file.
#
Related topics
Create a trial version · Offline licensing